Showing posts with label recipe. Show all posts

Wednesday, April 5, 2017

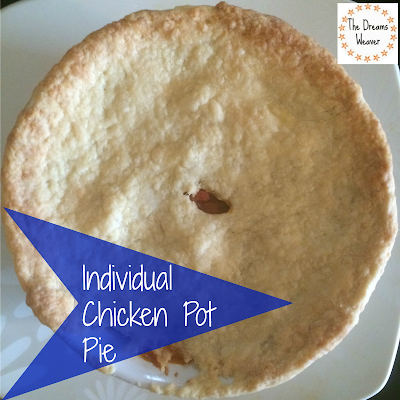
Individual Chicken Pot Pie

I love anything that is cute and individual portion sized. That is why I decided to make chicken pot pie in little ramekins instead of one big pot pie. They are perfect for a dinner party, or for just my husband and I and freeze the rest for easy dinners!
The Dreams Weaver ~ Individual Chicken Pot Pie
What you will need:
3 whole (6 split) chicken breasts
3 tablespoons olive oil
Kosher salt
Freshly ground black pepper
Paprika
5 cups chicken stock (or water with bouillon cubes or consommé added)
½  stick unsalted margarine
2 cups yellow onions, chopped (2 onions)
2 cloves garlic
¾ cup all-purpose flour
2 cups medium-diced carrots
1 cup button mushrooms sliced
1 head broccoli cut into florets 
1 (10-ounce) package frozen peas (2 cups)
1 ½ cups frozen small whole onions (optional)
½ cup minced fresh parsley leaves

For the pastry:

Pie dough (recipe here) or any store-bought pastry or pie dough sheets
The Dreams Weaver ~ Individual Chicken Pot Pie

Place the chicken breasts in a cast iron skillet and rub them with olive oil. Sprinkle generously with salt, pepper, and paprika. Cook for 12-15 minutes, or until cooked through. Set aside until cool enough to handle. 

The Dreams Weaver ~ Individual Chicken Pot Pie
Cut the chicken into large dice. You will have 4 to 6 cups of cubed chicken.
The Dreams Weaver ~ Individual Chicken Pot Pie
In a small saucepan, heat the water (or stock) and dissolve the chicken consommé flavoring in the water. 
In a large pot or Dutch oven, melt the margarine and sauté the onions over medium-low heat for 10 to 15 minutes, until translucent. Add in the carrots and cook for another 5 minutes.
The Dreams Weaver ~ Individual Chicken Pot Pie
Add the flour and cook over low heat, stirring constantly, for 2 minutes. 
The Dreams Weaver ~ Individual Chicken Pot Pie
Add the hot chicken stock to the sauce. Simmer over low heat for 1 more minute, stirring, until thick. Add 2 teaspoons salt, and ½ teaspoon pepper. Add the cubed chicken, peas, mushrooms, broccoli, onions and parsley. Mix well.
The Dreams Weaver ~ Individual Chicken Pot Pie
Once the pie dough is made, dump the dough out onto a floured board and knead quickly into a ball. Wrap the dough in plastic and allow it to rest in the refrigerator for 30 minutes.
Preheat the oven to 375°F.

Divide the filling equally among 6 ovenproof bowls. 
The Dreams Weaver ~ Individual Chicken Pot Pie
Divide the dough into 6 pieces and roll each piece into an 8-inch circle. Brush the outside edges of each bowl with the egg wash, then place the dough on top. Trim the circle to ½-inch larger than the top of the bowl. Crimp the dough to fold over the side, pressing it to make it stick. Brush the dough with egg wash and make 3 slits in the top. 
The Dreams Weaver ~ Individual Chicken Pot Pie
Place on a baking sheet and bake for 1 hour, or until the top is golden brown and the filling is bubbling hot.
The Dreams Weaver ~ Individual Chicken Pot Pie
Enjoy!

 photo signature_zpsf75b5071.png

Tuesday, December 17, 2013

Double Dark-Chocolate and Ginger Biscotti

This weekend I was experimenting with different variations, once again, on my pumpkin biscotti recipe. I wanted biscotti that looked innocent, but had a secret BOOM I DID NOT EXPECT THAT BUT REALLY LIKE IT flavor to it. The sweet spiciness of the fresh ginger in these cookies complements the richness of the dark chocolate.
These are great for the winter with a big mug of hot cocoa on a snowy day. They are hands down my new favorite biscotti flavor.

Double Dark-Chocolate and Ginger Biscotti~ The Dreams Weaver
What you will need:
1 cup all-purpose flour
1/3 cup unsweetened cocoa powder
1 ½ tsps. baking powder
¼ tsp. salt
1 large egg, plus 1 egg yolk
½ cup sugar
1 teaspoon vanilla extract
¼ cup canola oil
½ cup dark chocolate chips (or 3 ounces dark chocolate, coarsely chopped)
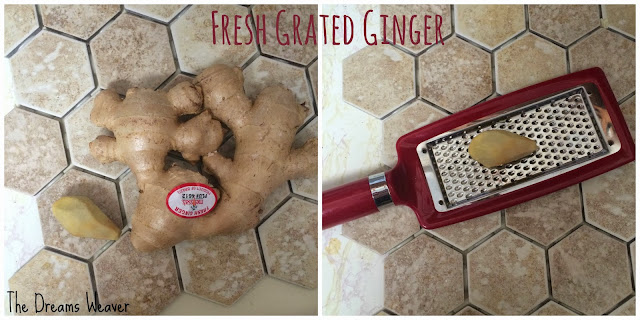
¼ cup grated fresh ginger (or finely chopped crystallized ginger)
Optional: ½ cup walnuts, coarsely chopped.

Double Dark-Chocolate and Ginger Biscotti~ The Dreams Weaver

Preheat oven to 350˚. Line a baking sheet with parchment paper.

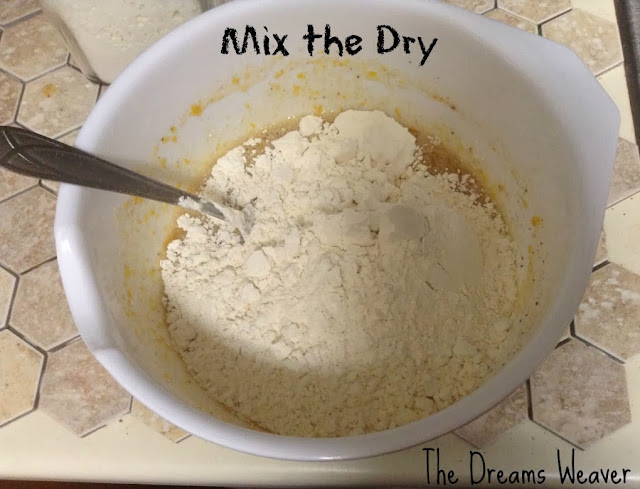
In a large bowl, whisk together flour, cocoa powder, baking powder, and salt until well combined.

Double Dark-Chocolate and Ginger Biscotti~ The Dreams Weaver
In a medium bowl, beat egg, egg yolk, and sugar until light and fluffy; beat in the vanilla and oil until well combined.
Double Dark-Chocolate and Ginger Biscotti~ The Dreams Weaver
Slowly add the egg mixture to the dry mixture, beat the mixture until well combined. Fold in chocolate chips, and ginger with a rubber spatula, at this point the dough will be really stiff.

Double Dark-Chocolate and Ginger Biscotti~ The Dreams Weaver

Double Dark-Chocolate and Ginger Biscotti~ The Dreams Weaver
With moistened hands shape the dough into 2 logs, each about 9” long and 2 ½” wide. Bake until set on top, about 20 minutes.
Double Dark-Chocolate and Ginger Biscotti~ The Dreams Weaver
Let the logs cool 10 minutes on the baking sheet. Reduce oven temperature to 325˚.

Transfer logs to a cutting board and, with a serrated knife, cut each into ½” thick slices . Bake until crisp, about 20 minutes, turning the biscotti over 10 minutes through. 

Double Dark-Chocolate and Ginger Biscotti~ The Dreams Weaver
Let the biscotti cool 5 minutes on a baking sheet, then transfer to a wire rack to cool completely.

Store in an airtight container for up to a week, or turn around for a minute and have your husband eat the whole batch.


Enjoy!


 photo signature_zpsf75b5071.png

Monday, November 25, 2013

Pumpkin Biscotti

It’s almost Thanksgiving, and this weekend I did a bit more pumpkin baking.  I baked pumpkin bread to bring to the Thanksgiving meal, chocolate scones for snacks for the week {I will share my recipe adaptation to my pumpkin scones hopefully later this week} and my new obsession, pumpkin biscotti.

It’s still fall here, but it is undeniable that winter is approaching.  As I was baking, grey clouds crept across the sky, and the chilly wind was howling outside my window scaring the leaves right off the trees.  This is the kind of weather where you just want to stay in, snuggled under a warm blanket with hot cocoa and some freshly baked biscotti. What else?
Pumpkin Biscotti~ The Dreams Weaver
My biscotti are packed with flavor and hints of warm spices, and great for dipping!  

While in the oven, they made the house feel so warming and rustic.

My recipe is very adaptable, swap out the pumpkin puree for chocolate chips, nuts, dried fruit, or any other flavor you are craving.
Baking Tip: When swapping out the pumpkin puree, use less flour as it will be drying without the moist pumpkin puree.  When making my chocolate chip biscotti, I used 2 cups of flour instead of 2 ½ cups.

What you will need:
2 1/2 cups of flour
1 cup of sugar
1 tsp. baking powder
1 tsp. cinnamon
1/2 tsp. nutmeg
Pinch of salt
1 tsp. vanilla extract
2 eggs
1/2 cup of pumpkin purée
Pumpkin Biscotti~ The Dreams Weaver
Preheat oven to 350°F.

In a large bowl add flour, salt, sugar, baking powder, and spices.
Pumpkin Biscotti~ The Dreams Weaver
In a medium bowl, whisk together eggs, pumpkin purée, and vanilla extract.
Pumpkin Biscotti~ The Dreams Weaver
Pour the pumpkin mixture into the flour mixture.  Give it a quick stir to incorporate all of the ingredients, the dough will be a little crumbly.
Pumpkin Biscotti~ The Dreams Weaver
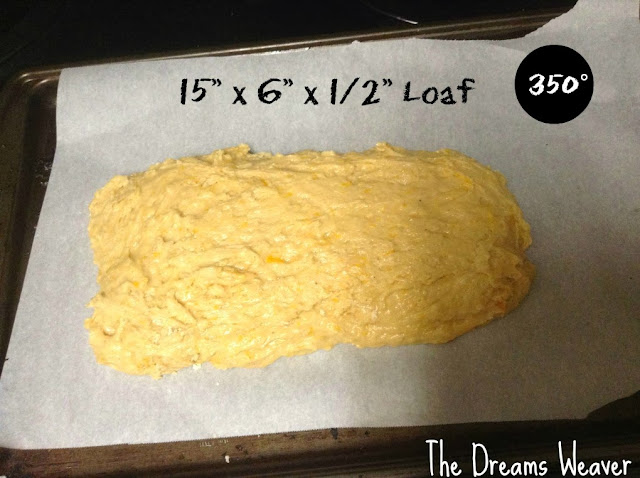
Line a baking sheet with parchment paper.  Form the dough into a long log, roughly 16 inches long by 6 inches wide.  The log should be relatively flat, only about ½ inch high, otherwise you will have really big sliced of biscotti. 
Pumpkin Biscotti~ The Dreams Weaver
Baked for 20-25 minutes at 350°F, until the center is firm to the touch.
You can also make two smaller logs for mini bite-size biscotti, just cut the baking time down to 15-20 minutes.

Let biscotti cool for 15 minutes.  Use a serrated knife cut the log into 1 inch wide pieces. 
Pumpkin Biscotti~ The Dreams Weaver
Turn the oven to 300°F and bake for an additional 15-20 minutes. Allow to cool completely.
Pumpkin Biscotti~ The Dreams Weaver
Biscotti may be still be a little moist and chewy, so if you prefer it crisp let it sit uncovered overnight in a dry space.

Enjoy!
Pumpkin Biscotti~ The Dreams Weaver

 photo signature_zpsf75b5071.png

Thursday, November 14, 2013

Dreamy Pumpkin Bread

Have I said lately how much I love pumpkin? In case you missed it…I LOVE PUMPKIN! I don’t think I will ever get sick of it.

With that said, I want to share my pumpkin bread recipe. It started out as my banana bread recipe when I first made it a few years ago. This weekend a light bulb went off in my head as I was trying to think of new ways to incorporate pumpkin in my life….I can substitute mashed bananas for my pumpkin puree! I absolutely love Starbucks pumpkin bread, but at $2.25 a slice and some 300+ calories later I always regret it. My version has less than half the calories per slice and I can eat it more often {more pumpkin=more happy.} 

Dreamy Pumpkin Bread~ The Dreams Weaver

What you will need:
1 ½ cups flour
1 ¼ tsps. baking powder
½ tsp. baking soda
½ tsp. ground cinnamon
1/8 tsp. salt
2 slightly beaten egg whites

1 cup pumpkin puree
¾ cup sugar
¼ cup canola oil
Nonstick spray
8x4x2” Loaf pan

Dreamy Pumpkin Bread~ The Dreams Weaver
 
In a medium mixing bowl stir together flour, baking powder, baking soda, cinnamon, and salt.

Dreamy Pumpkin Bread~ The Dreams Weaver

In a large mixing bowl whisk together egg whites, pumpkin, sugar, and oil. 

Dreamy Pumpkin Bread~ The Dreams Weaver

Stir flour mixture into pumpkin mixture until well incorporated.

Dreamy Pumpkin Bread~ The Dreams Weaver

Liberally spray a loaf pan with nonstick spray {you do not want your bread to stick to the pan, so really spray it!} Spread batter into pan and bake at 350 degrees for 45-50 minutes, or until a toothpick inserted into the center comes out clean.

Dreamy Pumpkin Bread~ The Dreams Weaver

Dreamy Pumpkin Bread~ The Dreams Weaver

Let the bread cool in the loaf pan for 10 minutes to set up. It was so hard not to take it out and have a taste of it at this point!

Dreamy Pumpkin Bread~ The Dreams Weaver

Remove from the pan and let cool thoroughly. Wrap in plastic wrap for storing.

Dreamy Pumpkin Bread~ The Dreams Weaver

Enjoy!


 photo signature_zpsf75b5071.png

Wednesday, November 6, 2013

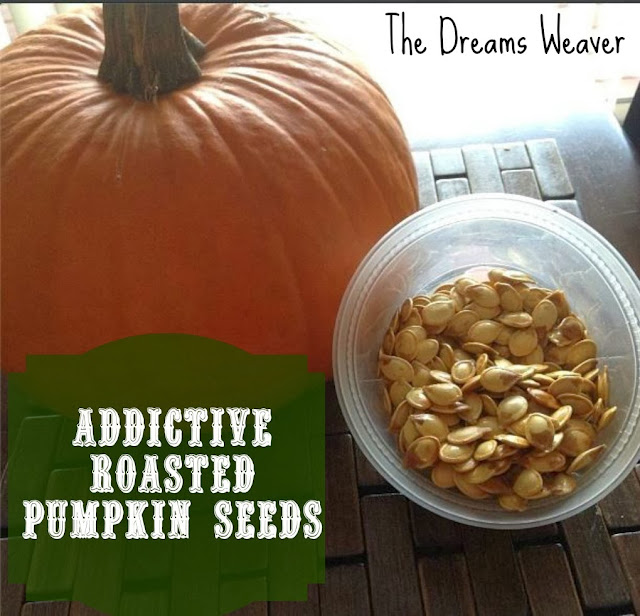
Once You Pop, You Can’t Stop ~ Easy, Addictive Roasted Pumpkin Seeds

My first attempt at roasting pumpkin seeds, I burned them to a crisp!
I was heart-broken, as I didn't think it was worth all of the effort in the first place. All that de-stringing of pumpkin pulp, and rinsing and re-rinsing, not even one good one to keep my spirits up.

I was not going to let the first burnt batch let me give up! So I did some more research on how to roast the perfect seed and…Eureka!  I finally found my answer; the inner seeds cook way faster than its outer shell.  I roasted my first batch until it looked like my seeds were golden color, when they really shouldn't change color during the roasting process.

Once You Pop, You Can’t Stop ~ Easy, Addictive Roasted Pumpkin Seeds

I am going to share my secret of making the perfect bunch of roasted pumpkin seeds.

What you will need:
Pumpkin Seeds
Water
Salt
Oil

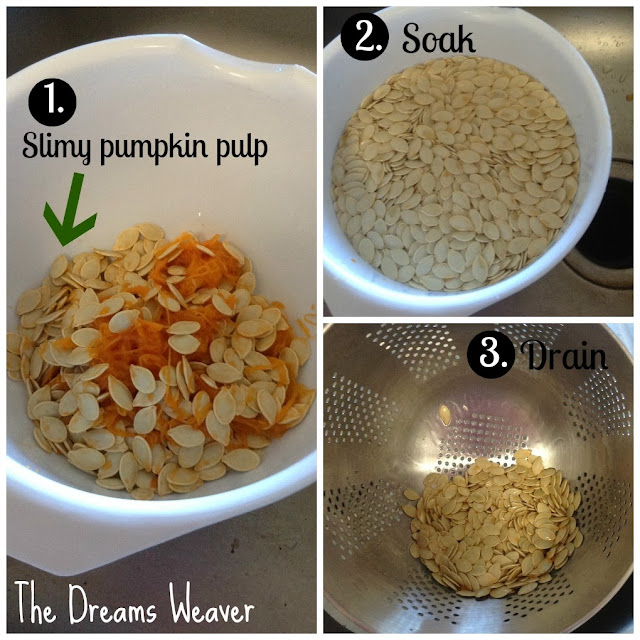
Clean the seeds.  This step is the most grueling of the whole process, I promise!  You need to really get in and clean the seeds of their slimy pumpkin pulp.  I soak them in a bowl of cold water to loosen the pulp, and get my hands down and dirty into the bowl to loosen the pulp.  I then strain the seeds in my colander, and repeat the process until all remaining pulp is set free from my lovely seeds.

Once You Pop, You Can’t Stop ~ Easy, Addictive Roasted Pumpkin Seeds


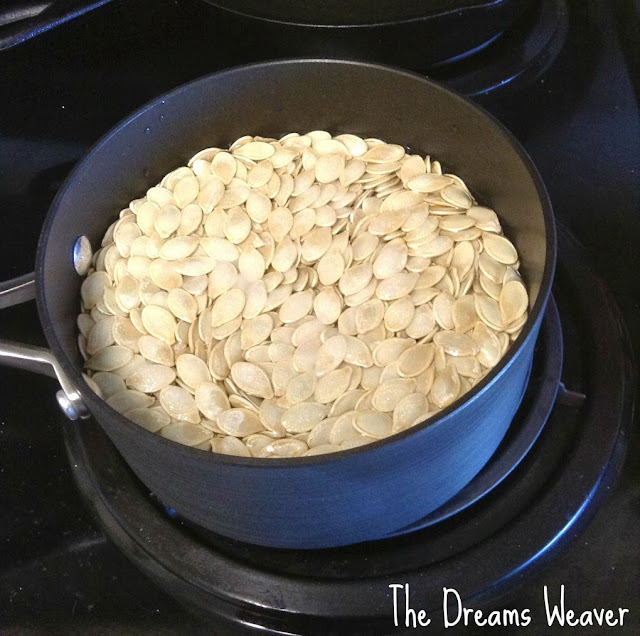
Boil the seeds for 10 minutes in salted water. 2 cups of water to every half of a cup of pumpkin seeds and 1 TBS of salt. Bring the pot of water, seeds, and salt to a boil and then reduce the heat to a simmer for 10 minutes.


Once You Pop, You Can’t Stop ~ Easy, Addictive Roasted Pumpkin Seeds


Strain the seeds back into the colander and lightly pat dry with a tea towel, or a paper towel. 

Spread seeds onto a baking sheet and spray with olive oil until each seed is lightly coated. Add salt to the top {optional} or cinnamon sugar for the sweet tooth!

Once You Pop, You Can’t Stop ~ Easy, Addictive Roasted Pumpkin Seeds


Time to roast! Roast at 350 degrees for 10-20 minutes.  I kept checking on mine every few minutes; I didn't want another burnt seedcatastrophy!  They should not really change in color on the outside, but the inner seed should have a slight golden color to them and the outer shell should be crunchy.

Enjoy!


 photo signature_zpsf75b5071.png

Tuesday, November 5, 2013

Fall Obsession: PUMPKINS! Roasted Pumpkin Recipe

Hi all! Welcome to my blog!! So happy you landed here. I thought I would start my first post with my new obsession, PUMPKINS!!!!

This is just the first of many posts that will include something edible with pumpkins.

First thing you need for any pumpkin recipe is roasted pumpkins! {soo much better and cheaper than the canned puree}

The Dreams Weaver - Roasted Pumpkin Puree Recipe photo pumpkin1wlineredo_zps4ee30caa.jpg

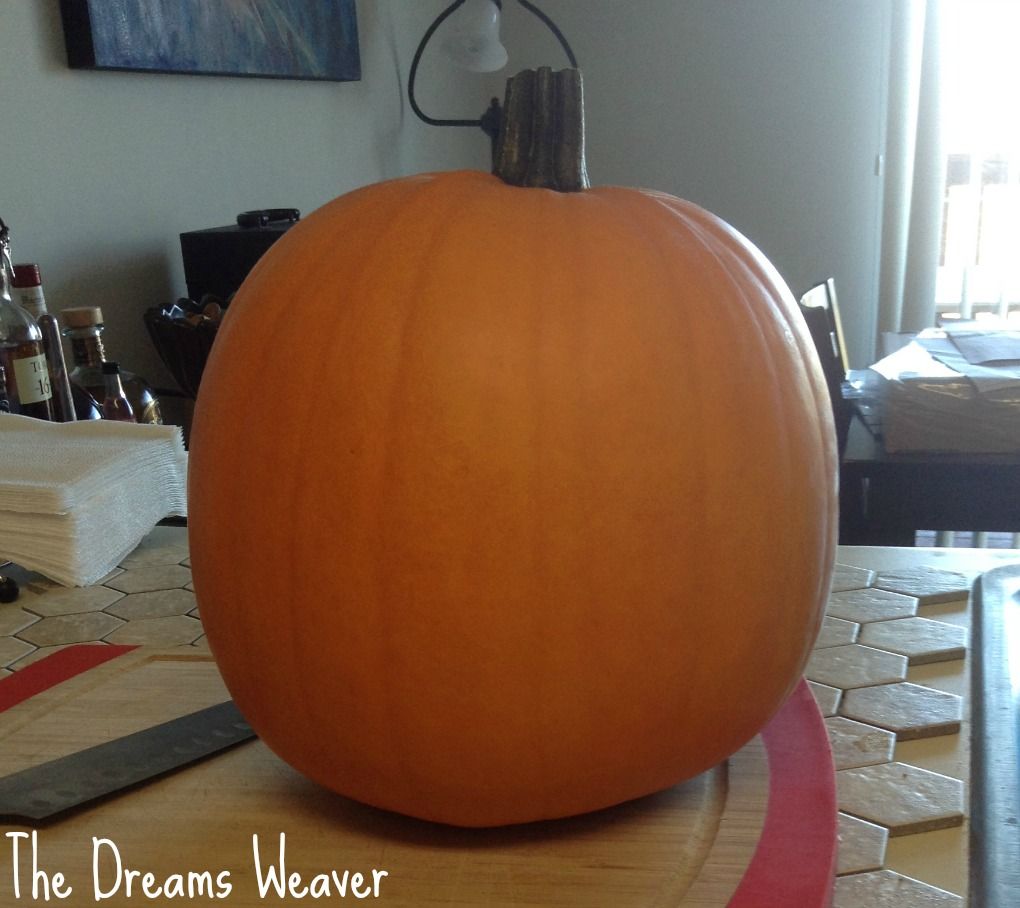
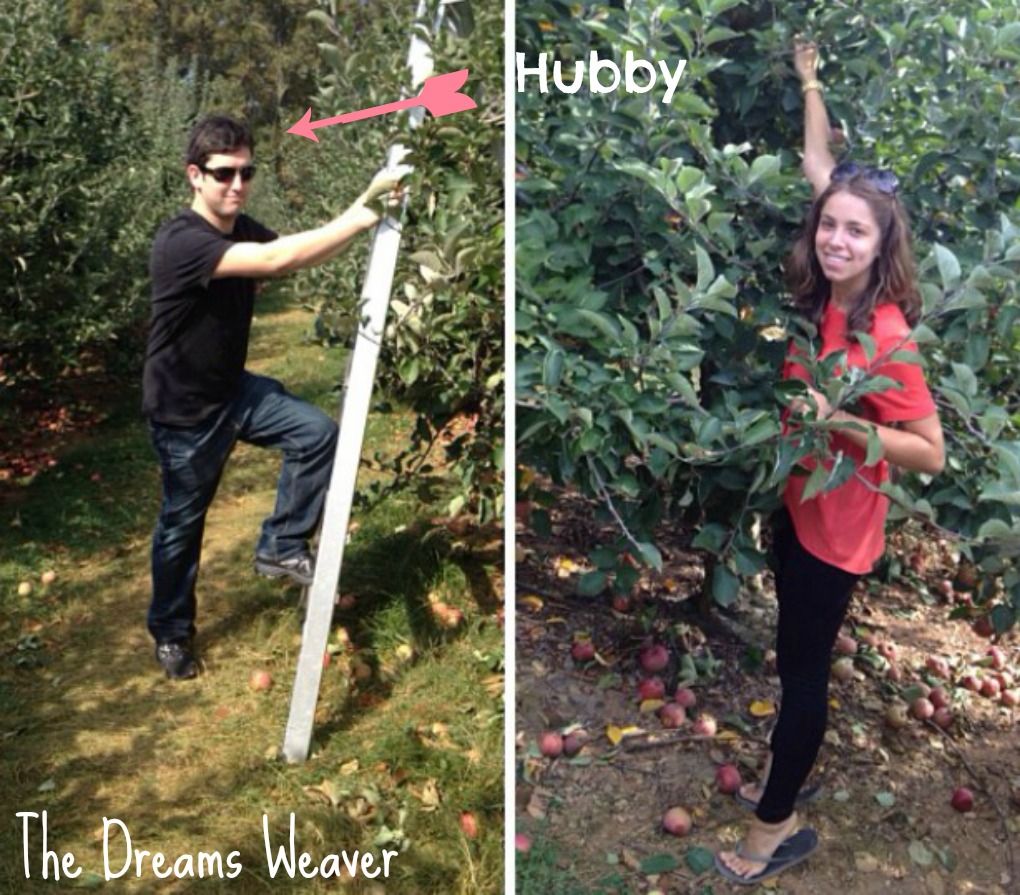
The hubby and I went apple picking a few weeks back and happen to pick up one large pumpkin on impulse for Fall decoration…It served its purpose, and I don’t like for anything to go to waste, so I came up with a few ways to utilize the pumpkin in some Fall inspired recipes {stay tuned more recipes to come!}

apple picking photo applepickingwarrow_zpsd790c873.jpg

The base for all my pumpkin recipes is this really easy way to roast and puree my pumpkin.

You will need:
1 3-4 pound sugar pumpkin
Oil for drizzling
Some salt

Preheat oven to 400 degrees
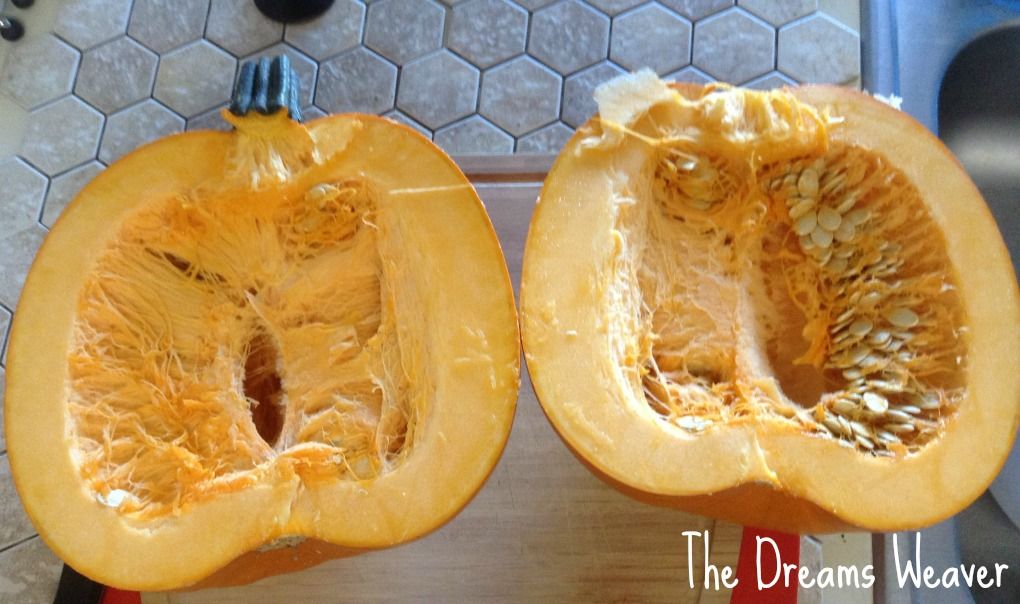
Slice the pumpkin in half and scoop out the seeds into a bowl {save the seeds!}


The Dreams Weaver - Roasted Pumpkin Puree Recipe photo Pumpkin2wline_zps671a9d8d.jpg

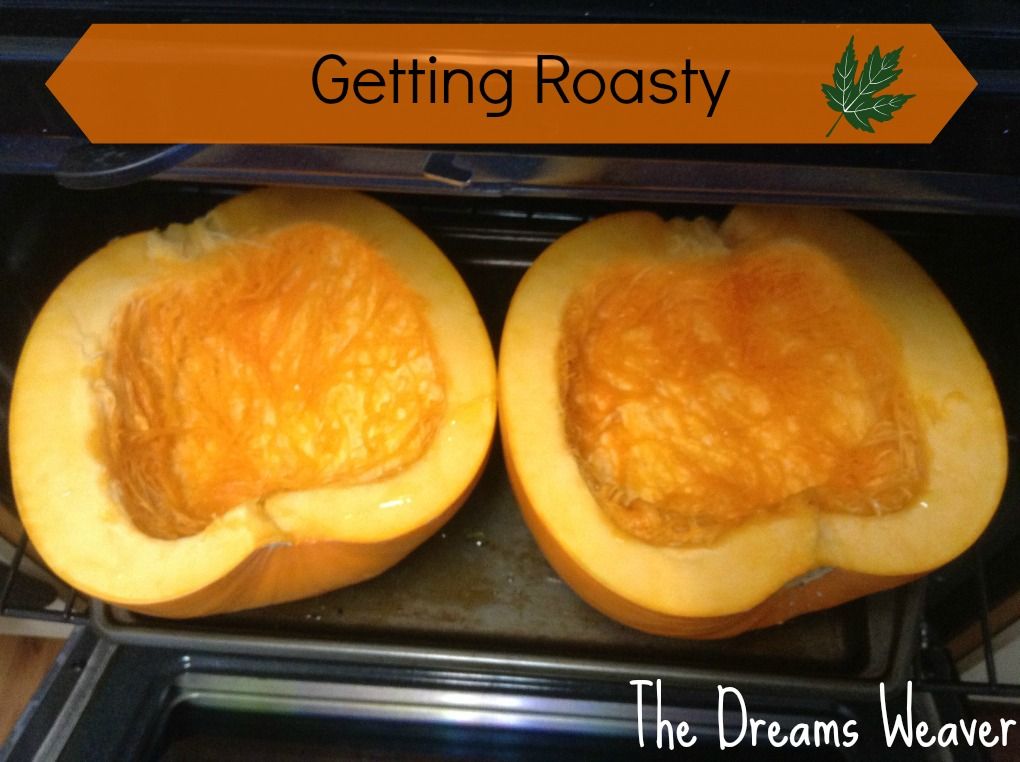
Place pumpkin, cut side up, on a baking sheet. You can cut the pumpkin in quarters, but halves do the trick for me. 

Drizzle with some oil, I use olive oil but vegetable oil will work if you don’t have olive oil, and some salt to season.
The Dreams Weaver - Roasted Pumpkin Puree Recipe photo pumpkin3wline_zpsdba5c769.jpg

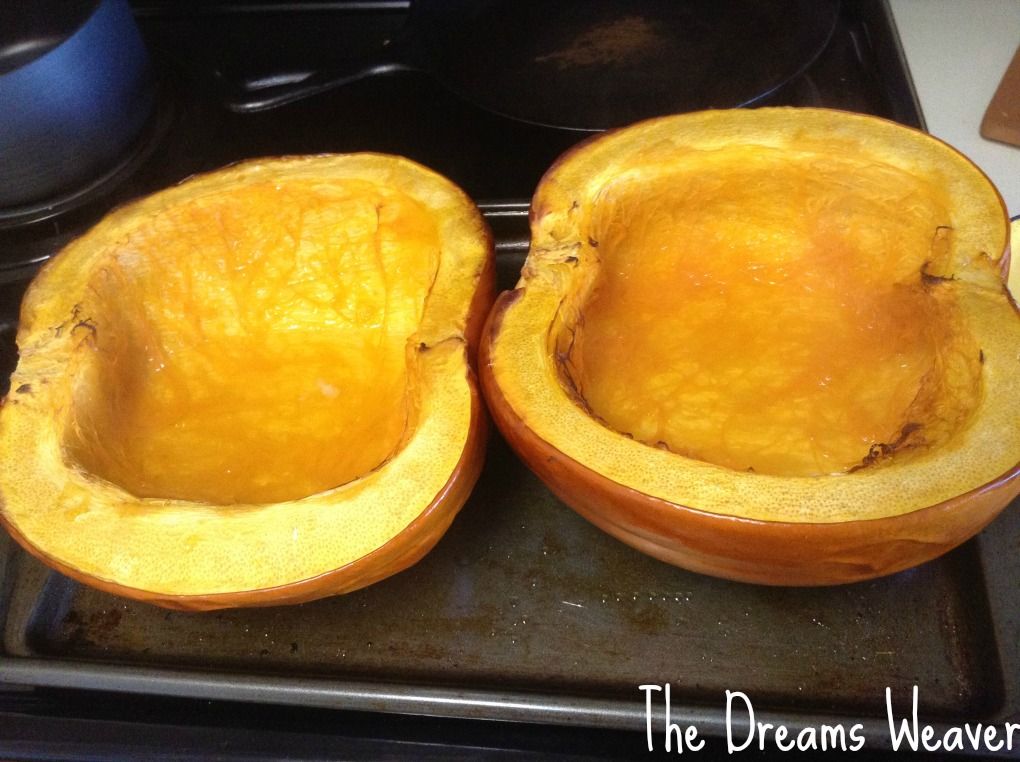
Roast until the pumpkin is softened, roughly 35-45 minutes.

The Dreams Weaver - Roasted Pumpkin Puree Recipe photo pumpkin4wline_zps7100a24e.jpg

Let the pumpkin cool completely before scooping it from the flesh and mashing. I just use a fork to mash it up a little.


The pumpkin puree will last up to 5 days covered in the fridge, or you can even freeze some in an airtight container to use later.


Stay tuned for how to use the seeds!