Tuesday, October 24, 2017

Chicken & Butternut Squash Crockpot Dump

As it starts to get cold out, my crockpot is always on standby for easy weeknight meals. I love coming home to the smell of something warm cooking away in the kitchen all day knowing I didn’t have to spend hours prepping or standing over the hot stove. I know my dog on the other hand is smelling our dinner all day and can’t even get a taste of it.

This recipe is super easy and full of flavor. No prep needed other than chopping, dumping, and forgetting. {I don’t know how much forgetting is happening, as I think about dinner all day at work when the crockpot’s going!}

Chicken & Butternut Squash Crockpot Dump ~ The Dreams Weaver

What you will need:
6 boneless, skinless chicken thighs (about 1 ½ pounds total)
1 (1 ½ - 2 lb.) butternut squash, cubed
2 Tbsp. balsamic vinegar
4 cloves garlic, minced
1 Tbsp. sage
Pinch of each salt and pepper

Combine the chicken, butternut squash, vinegar, garlic, sage, salt, and pepper in your crockpot.
Cover and cook on low for 4-6 hours.
Chicken & Butternut Squash Crockpot Dump ~ The Dreams Weaver

Enjoy!

 photo signature_zpsf75b5071.png

Friday, October 20, 2017

Microwave Chocolate Mug Cake

Who doesn't love chocolate cake? I love chocolate cake, but whenever I get a chocolate cake craving, I am not going to make myself a giant cake! That's why I love this microwave chocolate mug cake. It's instant satisfaction for my chocolate craving and I don't need to share with anyone!
The Dreams Weaver ~ Microwave Chocolate Mug Cake

What you will need:
¼ cup flour
5 Tbsp. sugar
2 Tbsp cocoa powder
1 egg
3 Tbsp. milk
3 Tbsp. vegetable oil
Dash of vanilla extract
Dash of salt


Spray the mug generously with cooking spray and whisk all ingredients in a large mug until smooth. Microwave until puffed, about 2 minutes.

Enjoy!


 photo signature_zpsf75b5071.png

Thursday, October 19, 2017

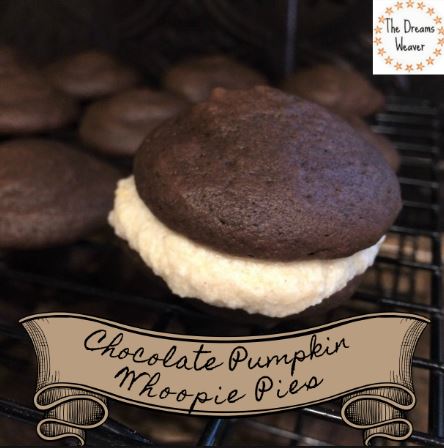
Chocolate Pumpkin Whoopie Pies

I love anything pumpkin when it comes to Fall, and love my chocolate desserts so I thought why not combine the 2! This was my first try at making whoopie pies {I never have even tried one before making these} and I must say that they turned out pretty well!
The Dreams Weaver ~ Chocolate Pumpkin Whoopie Pies
These little whoopie pies would be great for a holiday party, or any potluck! They are much easier to transport than cupcakes, since the buttercream is sandwiched between the 2 sides of cake.

The cake is sturdy enough using only one egg to stand on its own as a whoopie pie base, but wasn’t crumbly or overly springy.

What you will need:
Cake:
2 cups Flour
½ cup Cocoa Powder
1 ¼ tsp. Baking Soda
1 tsp. Salt
1 cup Buttermilk (or 1 scant cup of milk + 1 Tbs. white vinegar)
1 tsp. Vanilla
½ cup Butter
1 cup Brown Sugar
1 Egg

Filling:

4 oz. cream cheese
¼ cup Butter
¼ cup Pumpkin Puree 
½ cup Powdered Sugar
1 tsp. Vanilla
½ tsp. Pumpkin Pie Spice
Pinch of Salt


The Dreams Weaver ~ Chocolate Pumpkin Whoopie Pies

Preheat the oven to 350°F. 

Beat the butter and brown sugar until fluffy. Add the egg and mix until just combined.


At low speed, alternate adding buttermilk and the flour and cocoa, starting and ending with the buttermilk. Add the baking soda, salt, and vanilla and mix until combined.

The Dreams Weaver ~ Chocolate Pumpkin Whoopie Pies
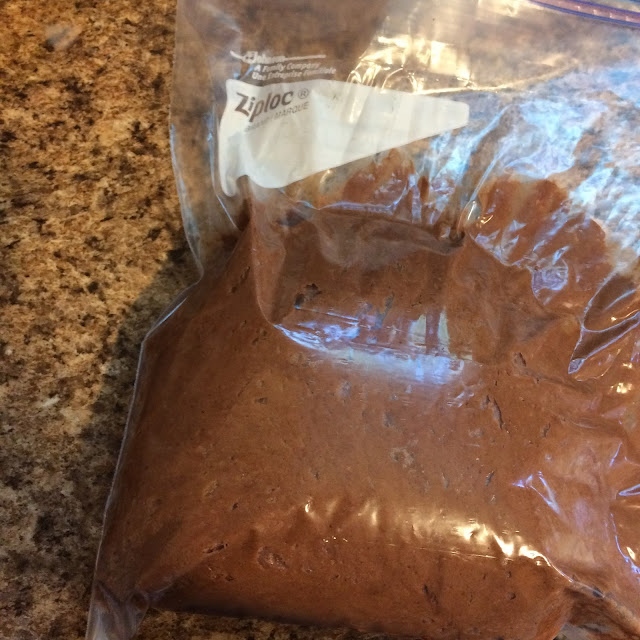
Scoop small batter mounds on to a cookie sheet lined with parchment paper with at least an inch of space in between pies as they will expand. If you use a heaping teaspoon of batter, you will get mini whoopie pies and will make about 24 pies. If you use a heaping tablespoon of batter, you will get normal sized whoopie pies and will make about 16 pies. I made 24 small for my batch. {I dumped my cake batter into a Ziploc bag and cut the tip off, which made it easier to get perfectly round and even-sized pies}
The Dreams Weaver ~ Chocolate Pumpkin Whoopie Pies

The Dreams Weaver ~ Chocolate Pumpkin Whoopie Pies

Bake the pies for about 10-12 minutes. Once the cakes come out of the oven, place them on a cooling rack to cool completely.
The Dreams Weaver ~ Chocolate Pumpkin Whoopie Pies

For the Filling: Beat the cream cheese and butter with an electric mixer on medium-high speed in a medium bowl until smooth and creamy. Add the pumpkin puree and beat to combine. Add the confectioners' sugar, pumpkin pie spice and salt and beat to combine.


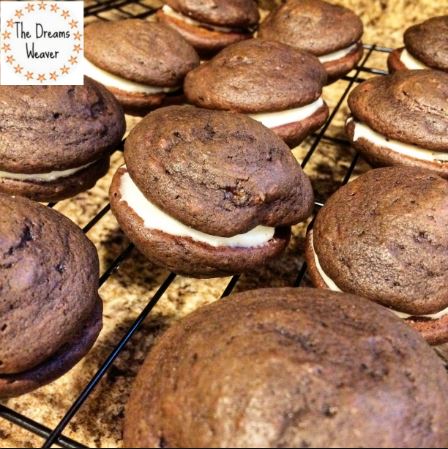
Assemble the pies by finding two halves that match in size. Pipe frosting starting in the middle of one cake half and working your way in a spiral to the outside edges. Sandwich another cake on top. Refrigerate to chill before serving.
The Dreams Weaver ~ Chocolate Pumpkin Whoopie Pies

Enjoy!


Wednesday, October 18, 2017

Witch Finger Cookies

I made these little severed fingers last year for my company's Halloween bake-off and won! They were a great hit, and everyone loved the taste of them in additional to their gruesome look!

What you will need
2 cups all-purpose flour 
½ teaspoon baking powder 
1/4 teaspoon fine salt 
½ cup (1 stick) unsalted butter, at room temperature 
1 cup sugar 
1 large egg, at room temperature 
1 teaspoon pure vanilla extract 
28 large sliced almonds 

½ cup raspberry jam 


Preheat the oven to 325°F. 


Spray a rimmed baking sheet with vegetable oil cooking spray or line with a silicone baking mat. Set aside.


In a medium bowl, whisk together the flour, baking powder and salt. Set aside.


In the bowl of a stand mixer fitted with the paddle attachment, beat the butter and sugar together until light and fluffy, scraping down the sides of the bowl with a spatula as needed, about 2 to 3 minutes. Beat in the egg and vanilla until smooth. Gradually beat in the flour mixture until a dough forms.


Using about 1 
½ tablespoons of dough at a time, roll the dough between your palms into 5-inch-long fingers about ½-inch thick. Firmly press a sliced almond into the end of each finger to make fingernails. Make several horizontal cuts, about 1/4 inch deep and ½ inch long, in the center of each finger to make knuckles. Press the dough on either side of the cuts to shape the knuckles. Arrange the fingers on the prepared baking sheet and bake until light golden, 16 to 18 minutes. Transfer the fingers to a wire rack and cool completely.


In a small saucepan, heat the jam over low heat until warm, about 2 minutes. Dip the blunt ends of the fingers in the warm jam and arrange on a platter.

Enjoy!