Monday, May 4, 2020

Homemade Flour Tortillas

This was my first attempt at homemade tortillas, and they are quite tasty! With Cinco de Mayo coming up, and COVID still looming over, we were not planning another grocery store run for another week or two! Seemed like the perfect time to try to make my own, and they come out so much cheaper and fresher than store bought.
Homemade Flour Tortillas ~ The Dreams Weaver

What you will need:
2 1/2 cups all-purpose flour
1 tsp kosher salt 
3 tbsp vegetable oil 
1 cup very hot water

Directions: 
Stir together the flour and salt in a bowl. Mix in the oil, then slowly pour in the hot water {not boiling!}, stirring constantly. When the dough comes together, turn it out onto a lightly floured surface. Knead it gently a few times to smooth out the dough. Let the dough rest in an oiled bowl covered with a towel for about an hour.
Homemade Flour Tortillas ~ The Dreams Weaver

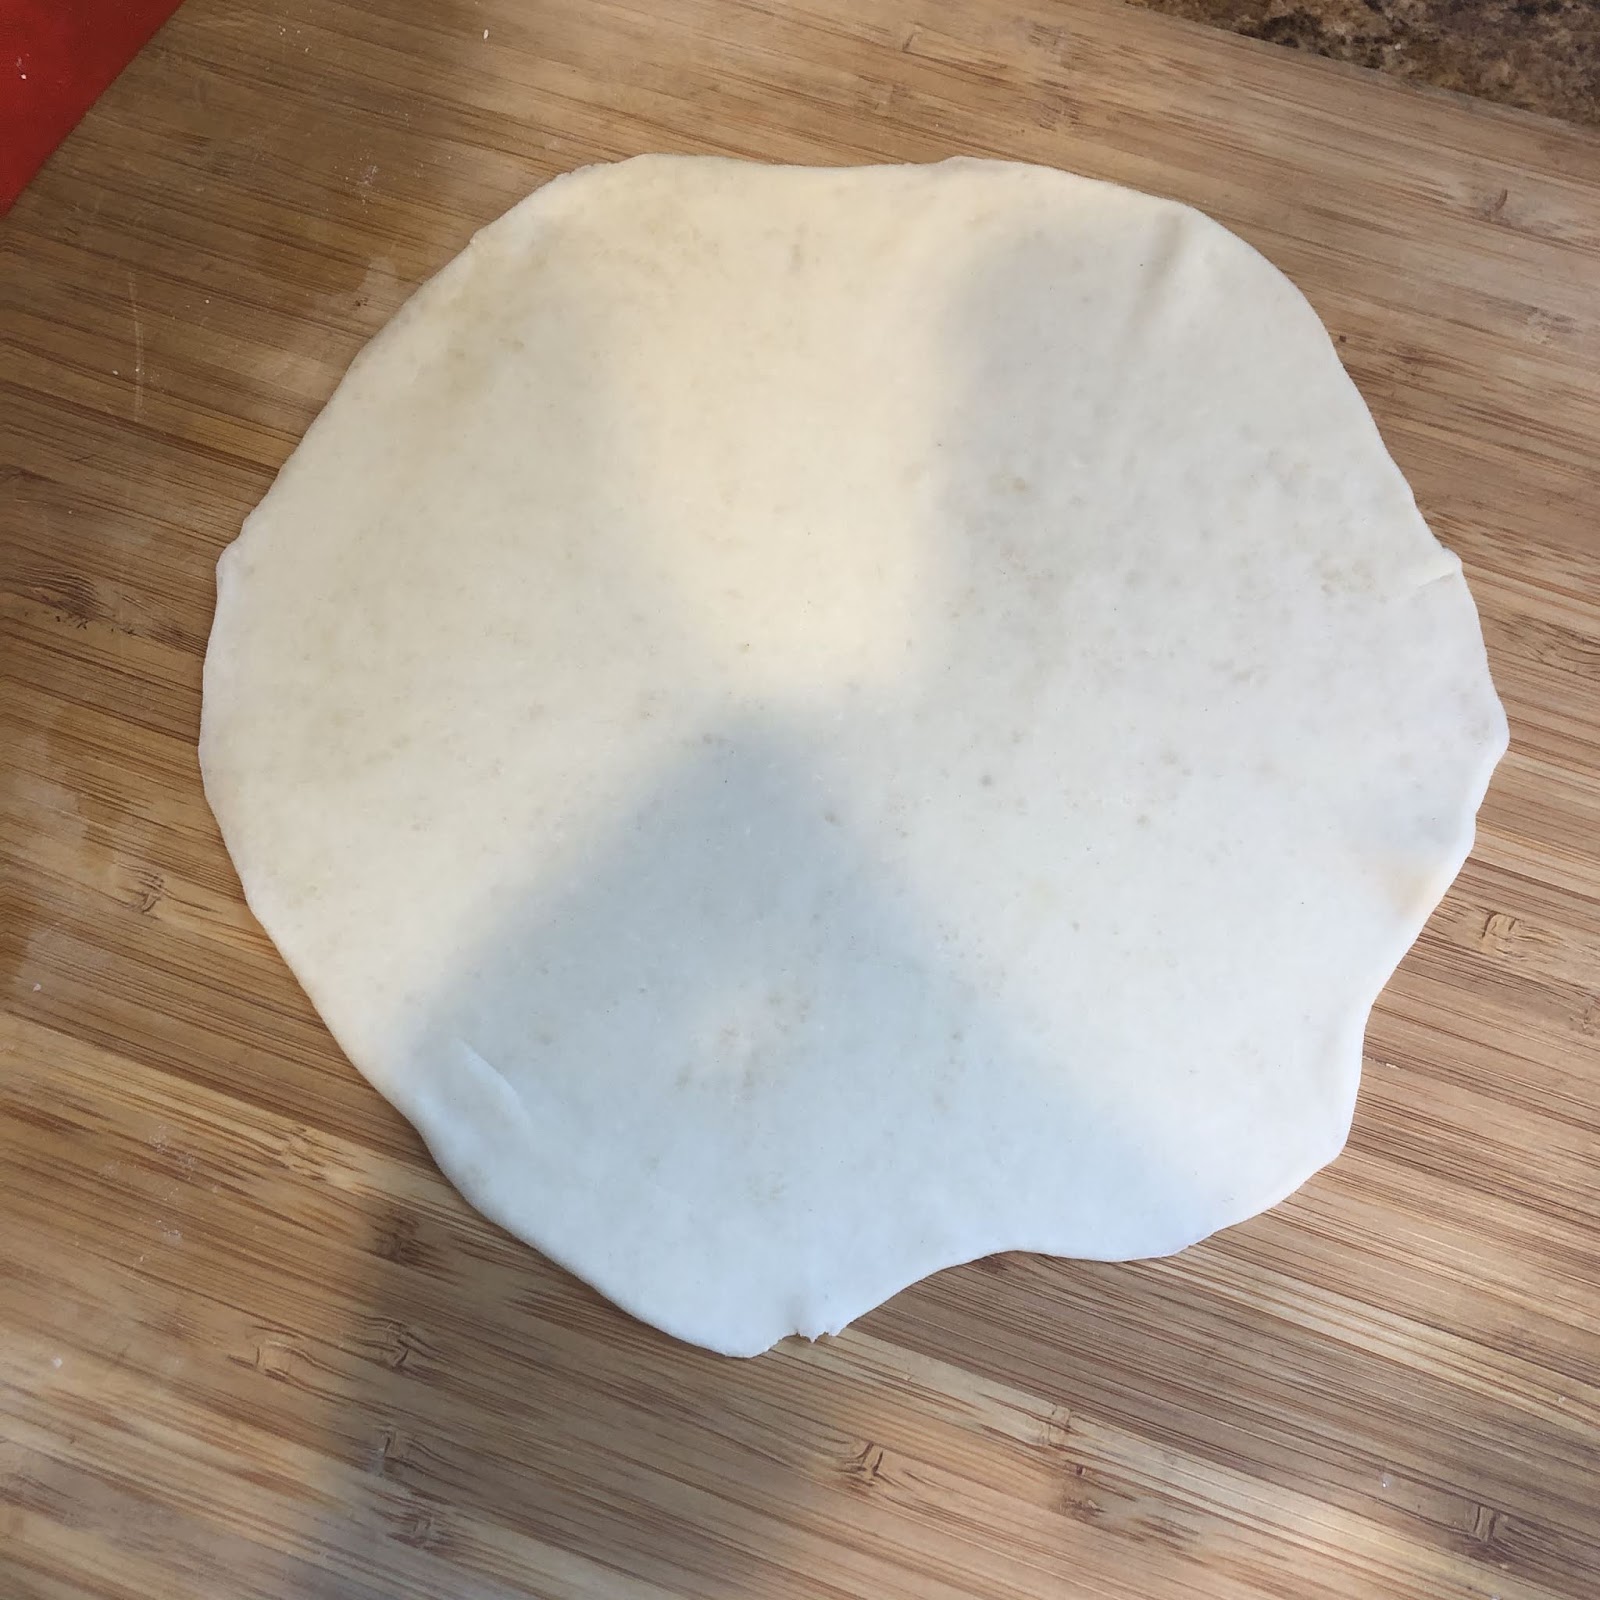
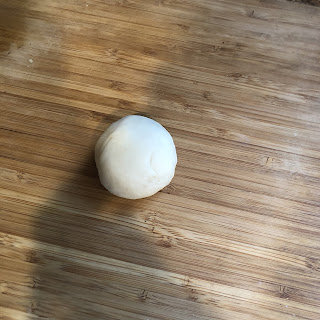
Heat a cast-iron skillet or frying pan over medium-high flame. Section off a piece of dough slightly smaller than a ping-pong ball and roll it out into a 5-inch circle until its extremely thin.
Homemade Flour Tortillas ~ The Dreams Weaver

Cook the tortilla on the dry skillet for about 1 minute on the first side, until it starts to brown a little, then flip it and cook for about 30 seconds on the second side. Remove from the pan and stack onto a towel. As you stack the tortillas, wrap them in the towel while you cook the next ones to keep the warm and pliable.
Homemade Flour Tortillas ~ The Dreams Weaver

Serve with breaded fish, pulled meat, chicken, pico de gallo, guacamole...the possibilities are endless! Whatever combo you choose, don't forget a cerveza or margarita!
Homemade Flour Tortillas ~ The Dreams Weaver

Enjoy!

 photo signature_zpsf75b5071.png

Friday, May 1, 2020

Easy Asian Glazed Corned Beef

Traditional corned beef requires a pot of boiling water, 3 hours, and changing of the salty water. But, with an active toddler that wants my attention, I didn't want to have to stand over the stove and watch that he didn't try and touch the flame.

This recipe only requires the oven and only one pan to wash (or disposable pan to just throw away!)
Easy Asian Glazed Corned Beef ~ The Dreams Weaver
What you will need:
1 (2.5-3 lb) pickled brisket
Glaze
3/4 cup bbq or teriyaki sauce
2 tbsp soy sauce
1 tbsp rice vinegar
2 tbsp honey
1/4 cup brown sugar
1/2 inch fresh ginger, minced or 1 tsp ground ginger
4 cloves minced garlic

Directions:
Preheat oven to 350°F.
Place meat in its sealed bag of pickling liquid into a 9x13-inch pan. 
Add water to the pan until the meat is covered. 
Cover pan tightly with foil; bake for 2.5 hours, until meat is tender. 
Drain water from the pan and set meat aside until cool enough to handle.
While meat is cooling, prepare glaze.
Glaze:
Add glaze ingredients to a bowl and whisk to combine.
Remove meat from bag and drain all liquid. 
Rinse meat under cold water to remove any remaining pickling spices and salt. 
Return to pan and pour half the glaze over meat. Bake uncovered for 15 minutes. 
Remove from oven and pour remaining glaze over meat. Bake for an additional 15 minutes.
To serve, slice meat and spoon glaze/sauce over it.

Enjoy!
Easy Asian Glazed Corned Beef ~ The Dreams Weaver

 photo signature_zpsf75b5071.png

Sunday, April 26, 2020

Sesame Cauliflower

This quarantine has me missing my favorite Chinese take-out dish of sesame chicken! This recipe I made using cauliflower, but can easily be done with the original sesame chicken version. Just dice up some boneless and skinless chicken. We got a head of cauliflower on our last stock up grocery trip 2 weeks ago, and totally forgot about it, but it looks just as good!
Sesame Cauliflower ~ The Dreams Weaver
What you will need:
Cauliflower:
1 cup flour
1/2 tsp garlic powder 
1/2 tsp onion powder 
1/2 tsp kosher salt 
1/2 tsp freshly ground black pepper 
1 cup milk or almond milk
1 head cauliflower, cut into bite-size pieces 
Nonstick cooking spray, for the baking sheet 

Sesame Sauce:
1/3 cup low-sodium soy sauce, or coconut aminos
2 tbsp honey 
2 tbsp toasted sesame oil 
2 tbsp rice wine vinegar or apple cider vinegar 
1 tbsp cornstarch 
1 tbsp sesame seeds, plus more for garnish 
2 tsp grated fresh ginger, or 1 tsp ground ginger
1 tsp garlic powder

Directions:
For the cauliflower: 
Place a baking sheet in the oven and preheat to 425°F. (If your cauliflower is large, preheat 2 baking sheets.)
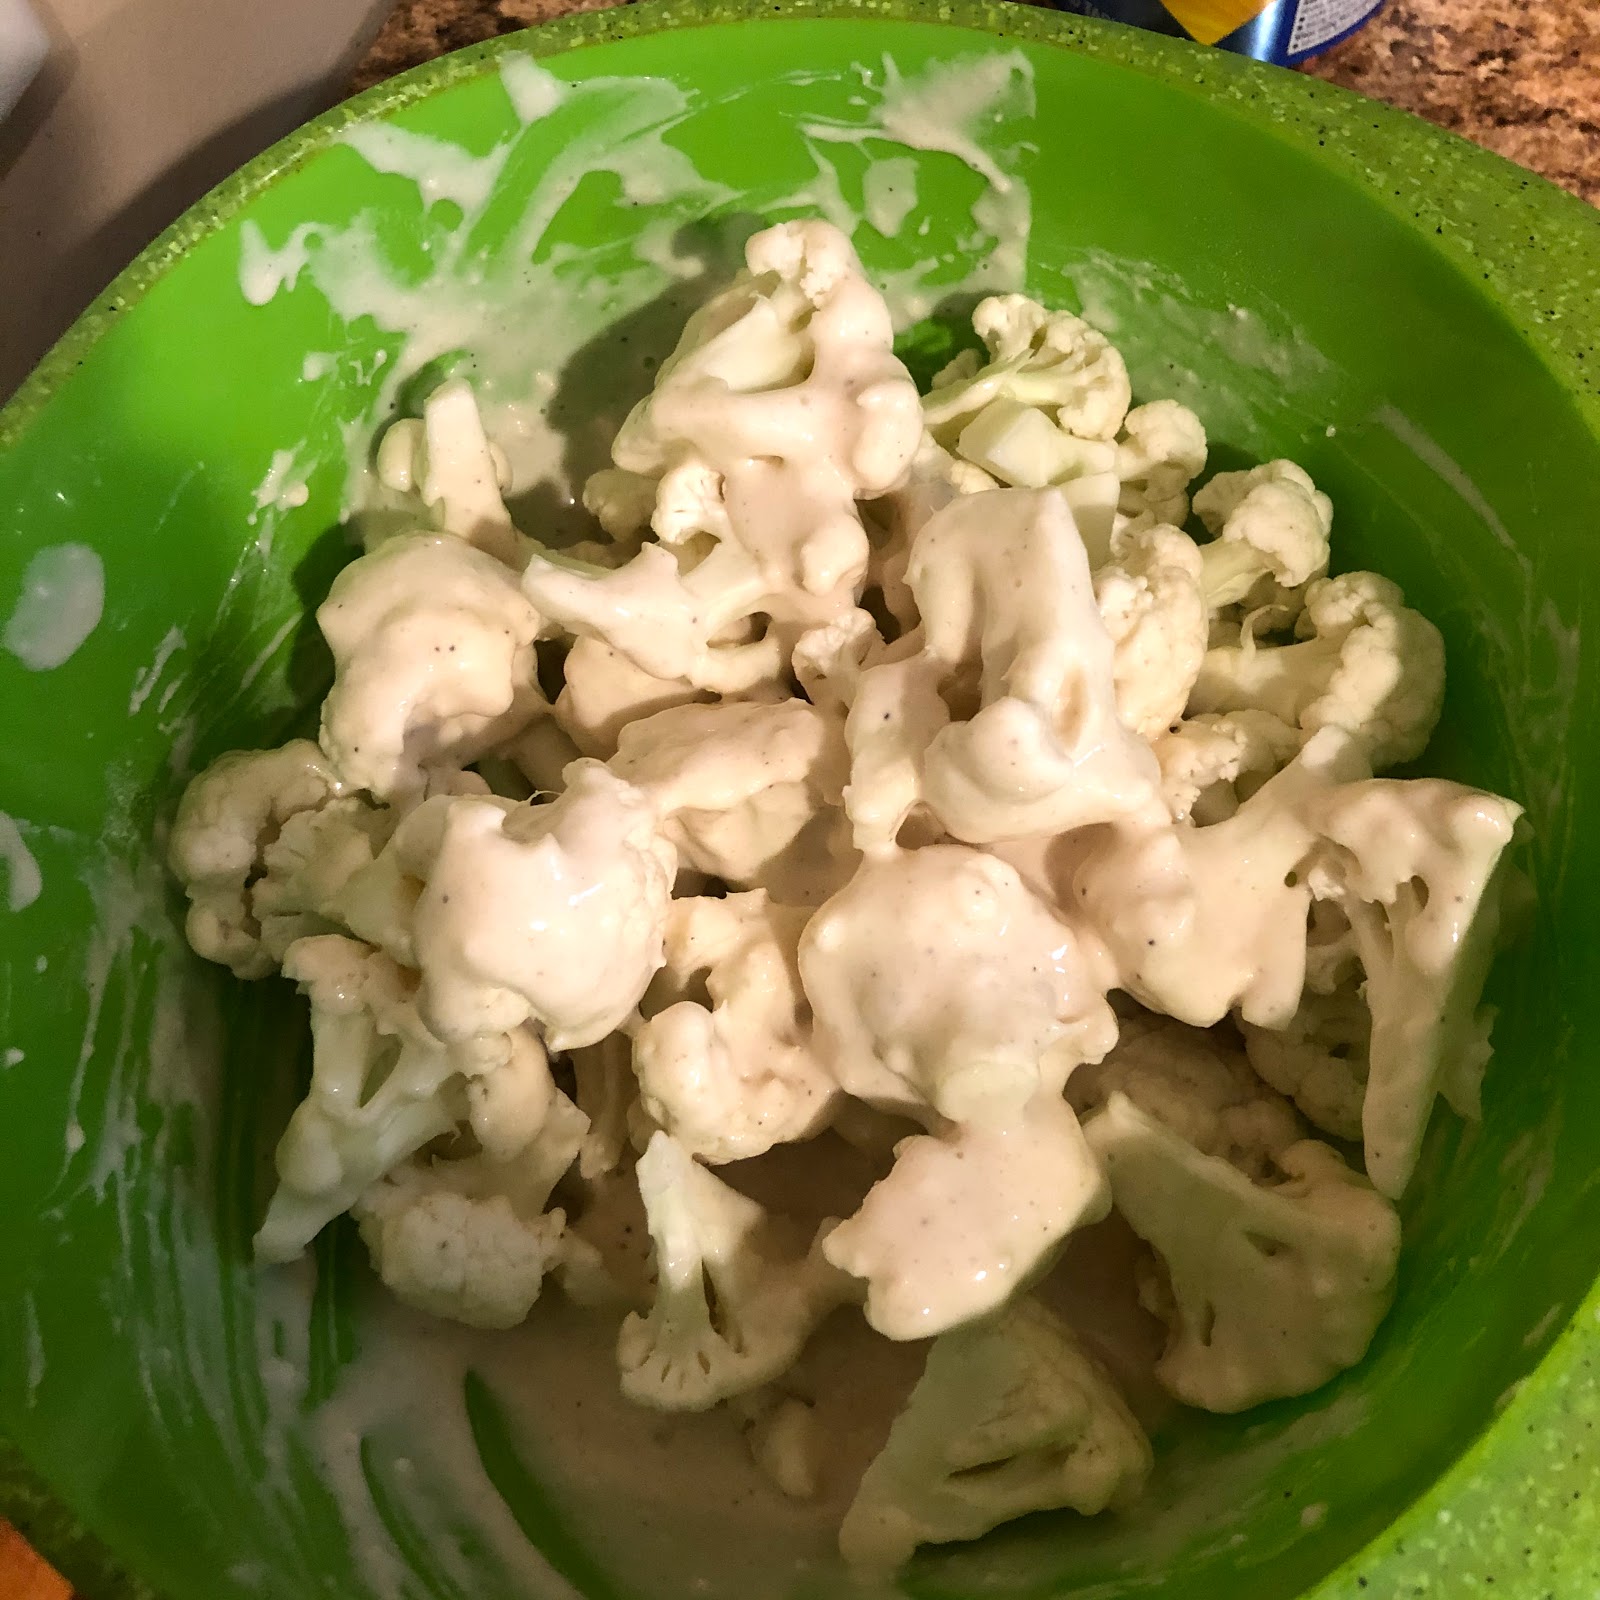
Whisk the flour together with the garlic powder, onion powder, salt and pepper in a large bowl. Whisk in the milk and 1/4 cup water until smooth. 
Sesame Cauliflower ~ The Dreams Weaver
Toss the cauliflower in the mixture until evenly coated. Remove the baking sheet from the oven and spray with nonstick cooking spray. Spoon the cauliflower into the baking sheet with a slotted spoon, leaving any excess sauce behind in the bowl. (Do not overcrowd the baking sheet or the cauliflower will steam and not become crispy; you may need to bake in batches or use two baking sheets.) Bake the cauliflower for 20 minutes.
Sesame Cauliflower ~ The Dreams Weaver


For the sesame sauce: 
Put the soy, honey, sesame oil, vinegar, cornstarch, sesame seeds, ginger,, garlic and 1/2 cup water in a medium saucepan over medium heat. Whisk together thoroughly. Bring to a boil, then reduce the temperature to medium-low and let simmer, stirring frequently, until the sauce becomes glossy and thick, about 2 minutes. 
Sesame Cauliflower ~ The Dreams Weaver
Remove the cauliflower from the oven and toss with half of the sesame sauce. 
Sesame Cauliflower ~ The Dreams Weaver
Return the cauliflower to the oven until dark and glossy, about 5 to 8 minutes. Remove to a serving bowl and drizzle with more sauce. Add sesame seeds over the top and serve immediately.

Enjoy!

 photo signature_zpsf75b5071.png

Tuesday, March 24, 2020

Chewy Almond Thumbprint Cookies

These cookies are so tasty, you won't even miss the regular wheat flour in them. Perfect for Passover coming up in just a few short weeks, but honestly love them all year round! The toasted almond flour gives great depth of flavor and the fruit jam options change the cookie flavor profile up!
Chewy Almond Thumbprint Cookies ~ The Dreams Weaver

What you will need:
4 cups blanched almond flour
2/3 cup coconut sugar 
¼ cup honey,
2 tbsp lemon juice
1 tsp lemon zest (from 1 lemon) 
¼ tsp kosher salt 
1 large egg, at room temperature 
3 tablespoons fruit jam 
Chewy Almond Thumbprint Cookies ~ The Dreams Weaver

Directions:
Preheat the oven to 350°F.
Spread the almond flour on a rimmed baking sheet and bake, stirring halfway through, until golden brown and toasted, about 10 to 15 minutes. Immediately add it to a medium bowl to cool for 5 minutes. Line the baking sheet with a piece of parchment paper and set aside.
Chewy Almond Thumbprint Cookies ~ The Dreams Weaver

Add the coconut sugar, honey, lemon juice, lemon zest, salt and egg to the toasted flour. Using a rubber spatula, stir until well combined and evenly moistened. 
Chewy Almond Thumbprint Cookies ~ The Dreams Weaver

Scoop heaping 1-tablespoon scoops of the dough onto the prepared baking sheet, leaving 1 inch between each. 
Chewy Almond Thumbprint Cookies ~ The Dreams Weaver

Flatten slightly with the palm of your hand, then make a small indent in the center of each cookie using your thumb. 
Chewy Almond Thumbprint Cookies ~ The Dreams Weaver

Fill each indent with 1/2 tsp jam. Bake until golden brown and just set, 15 to 17 minutes. Allow to cool on the baking sheet for 5 minutes, then remove to a wire rack to cool completely. Store in an airtight container. 
Chewy Almond Thumbprint Cookies ~ The Dreams Weaver

 photo signature_zpsf75b5071.png

Friday, March 13, 2020

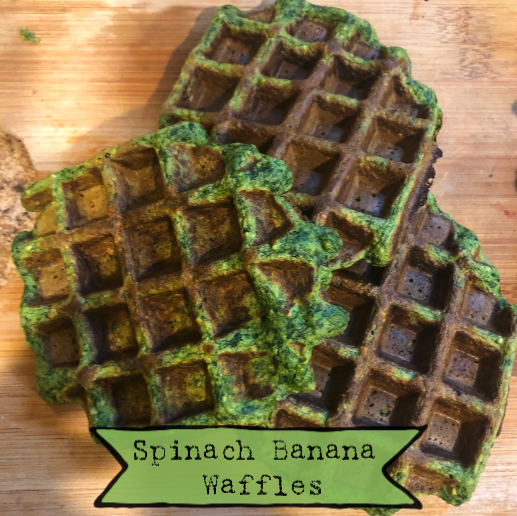
Spinach Banana Waffles

Most toddlers, including my son, are not eating enough vegetables per day. Fruit and carbs for him are no problem, but eating raw or cooked vegetables for him not in his pouches is near impossible.

This simple recipe made with only a handful of ingredients, including a vegetable, can be ready in minutes.  The recipe contains no gluten and is packed with protein and nutrients like iron and vitamin K.

I usually make a batch of these and freeze a few in saran wrap to have them on hand for future meals.

Spinach Banana Waffles ~ The Dreams Weaver

What you will need:
2 eggs
1 1/2 cup spinach raw
1 medium banana
1/2 cup oats
Dash of vanilla and cinnamon

Instructions
Heat waffle iron
In a blender, blend all ingredients until well combined (typically takes 1-2 minutes)
Pour batter into the pre-heated waffle iron
Close iron and cook until waffle slightly browned and cooked through (typically about 5 minutes)
Optional: Top with Greek yogurt, syrup, or fruit
 photo signature_zpsf75b5071.png

Friday, March 6, 2020

Chocolate Lava Filled Babka

Ingredients for Dough
1 cup warm water (no hotter than 115°F)
1 Tablespoon instant dry yeast
½ cup sugar
½ Tablespoon vanilla sugar
¾ cup canola oil
2 eggs, lightly beaten
4 cups bread flour, plus more as needed
1 teaspoon kosher salt

Ingredients for Chocolate Powder Filling
1 cup powdered sugar
1 cup dark cocoa powder (preferably Dutch process)
2 cups sugar
½ package Jell-O chocolate pudding powder

Ingredients for Chocolate Lava Filling
1 cup of dry filling from above
¼ cup canola oil
4-5 Tablespoons boiling water
The filling will have a thick, syrupy consistency. If needed, add 1 additional tablespoon boiling water. Filling will thicken and set as it sits.

Ingredients for Babka Crumbs
1 cup all-purpose flour
1 cup powdered sugar or granulated white sugar
1 Tablespoon vanilla sugar, optional
6 Tablespoons canola oil

Chocolate Lava Filled Babka ~ The Dreams Weaver


Directions:

For the Babka:
Parve — yields 3 loaves — freezer friendly
1. Combine water, yeast, and sugars in a large bowl; proof for 5 minutes, until foaming.
2. In a small bowl, combine oil with eggs; add to yeast mixture.
3. 1 cup at a time, add flour to the yeast mixture, followed by salt. Knead to combine. Turn dough out onto floured work surface; knead for 3-5 minutes until flour is well blended and a dough ball forms. The dough should be soft but not oily.
4. Sprinkle a bowl with 2 tablespoons flour. Transfer dough to the bowl; cover with a clean kitchen towel. Let rise in a warm place for an hour.
5. Prepare the babka crumbs: Mix crumb ingredients together until crumbs form. The consistency should be similar to wet sand. If desired, add cookie pieces, chocolate chips, sprinkles, or nuts.
6. Preheat oven to 350°F. Coat 3 (2-pound) loaf pans with nonstick cooking spray. Line a baking sheet with parchment paper.
7. Divide dough into 3 portions. Roll 1 portion into a 13x10x¼-inch rectangle. Spread on wet chocolate lava filling, then dust an even layer of the dry chocolate powder filling, and sprinkle with desired mix-in* {optional.}
*I sometimes mix in chocolate sprinkles, chocolate chips, crushed up cookies or cake.

8. Roll dough over filling to form a log. Twist log; fold in half. Place into prepared pan. Cut a shallow slit across the length of the log. Repeat with remaining portions. Top loaves with babka crumbs and toppings.

9. Place loaf pans onto a baking sheet. Bake for 30 minutes; rotate pans. Bake additional 15 minutes; babka crumb topping should be golden brown.
10. Cool on cooling racks. Do not cut into babka until it has cooled, as dough continues to bake even after being removed from oven.


 photo signature_zpsf75b5071.png

Tuesday, October 24, 2017

Chicken & Butternut Squash Crockpot Dump

As it starts to get cold out, my crockpot is always on standby for easy weeknight meals. I love coming home to the smell of something warm cooking away in the kitchen all day knowing I didn’t have to spend hours prepping or standing over the hot stove. I know my dog on the other hand is smelling our dinner all day and can’t even get a taste of it.

This recipe is super easy and full of flavor. No prep needed other than chopping, dumping, and forgetting. {I don’t know how much forgetting is happening, as I think about dinner all day at work when the crockpot’s going!}

Chicken & Butternut Squash Crockpot Dump ~ The Dreams Weaver

What you will need:
6 boneless, skinless chicken thighs (about 1 ½ pounds total)
1 (1 ½ - 2 lb.) butternut squash, cubed
2 Tbsp. balsamic vinegar
4 cloves garlic, minced
1 Tbsp. sage
Pinch of each salt and pepper

Combine the chicken, butternut squash, vinegar, garlic, sage, salt, and pepper in your crockpot.
Cover and cook on low for 4-6 hours.
Chicken & Butternut Squash Crockpot Dump ~ The Dreams Weaver

Enjoy!

 photo signature_zpsf75b5071.png